Showing posts with label Brads. Show all posts

Monday, April 25, 2011

APRIL PRODUCT SHOWCASE

Hello everyone!!! This is Janis blogging again for Upsy Daisy. The gals this month has spring in mind, so I thought of showcasing UDD's Luscious Leaves Clear Stamps.

These stamps can be used not only as leaves but also as flowers!!! Check out my first layout below:

UDD Products Used: Papers: #UD0164. Caresse, #UDD0168. Ella Bella, #UDD0170. Lily Lou, #UDD0172. Princess Abbie, #UDD0137. Scrumptious, #UDD0135. Sprinkles, #UDD0134. Delicious, #UDD0130. Stillness, #UDD0131. Harmony, #BLO011. Awakening, #BLO012. Freshly Picked, #WP014. Magnificent, Clear Stamps: #UDD0106. Floral Flourishes, #UDD0109. Luscious Leaves, #UDD0108. Lovely Lines, Brads: #EMB006. New Day.

Stamped my leaves (used 2 different ink colors) and topped with Stickles for added glitter!!!


I love how my flowers turned out!!! I just stamped and cut out the images and formed it in a circle flower. Easy peasy. ;o)


Here's my second layout: If you think that my flowers look familiar, it's because they're actually recycled out of the altered brad holders that you can see HERE.

UDD Products Used: Papers: #BLO011. Awakening, #BLO012. Freshly Picked, #BLO016. Spring is in the Air, #BLO015. Spring Breeze, #UDD0171. Miss Brin, #UDD173. Sophie Love, Stamps: #UDD0109. Luscious Leaves, Brads: #EMB007. Walk in the Park.

I think I have trained my kids not to cause major damage on the packaging of treat holders that I give them!!! LOL!!!


More leaves - - I say these clear stamps are must-haves!!!!


Have fun creating!!! Thanks for looking everyone!!!

janis

P.S. I rarely mix and match collections as most of the time, I want to showcase what can be done with that line - - but in these layouts, I had a blast mixing a lot of papers from different lines!!! This just shows how versatile UDD papers are!!!

Monday, April 18, 2011

For you treat container PLUS a challenge

Hi all!

I'm so excited to be the person to share with you a challenge for this month.

But before that let me share with you a project I made using some fun Upsy Daisy Designs products....

For You Treat Container

I recycled a scrapbook product packaging and turned it into a candy container. This package used to hold chipboard alphabets. I covered the back (where the manufacturer info were) with pattern paper from the Cupcake line and made a paper wrap that went all the way around the project using cardstock, more papers and ric rac.


To cover the part where you can hang up your box with, I punched out more papers with my 1/2" circle puncher, adhered a whole row of it and then added some stamped flowers from the Girlfriends stamp set. I also finished it off with brads from the Blossom pack and pearls (from my own stash


I used the big circle stamp from the Girlfriends stamp set to create my title block and then added some letter rubons. I added more flower stamps on this too.


a side view of the project.

So now that I've shown you what I did....I "challenge" you to do the same.....repurpose a scrapbook packaging into something new! Don't limit yourself to using just the packaging, you can cut it up and use parts or all of it into a layout or card.

So what are you waiting for? Go start rummaging and if you happen to play along make sure you post your projects so we can leave some love on it. :)

Till next time,
Grace

Monday, February 28, 2011

Tissue Paper Flowers - Tutorial

Hi everyone! 

Spring is just around the corner and the flowers are up here on the lovely West Coast of Canada! To get readyfor the season of flowers, today I have a little tutorial on making tissue paper flowers, using some wonderful brads from Upsy Daisy!  Let's get started:

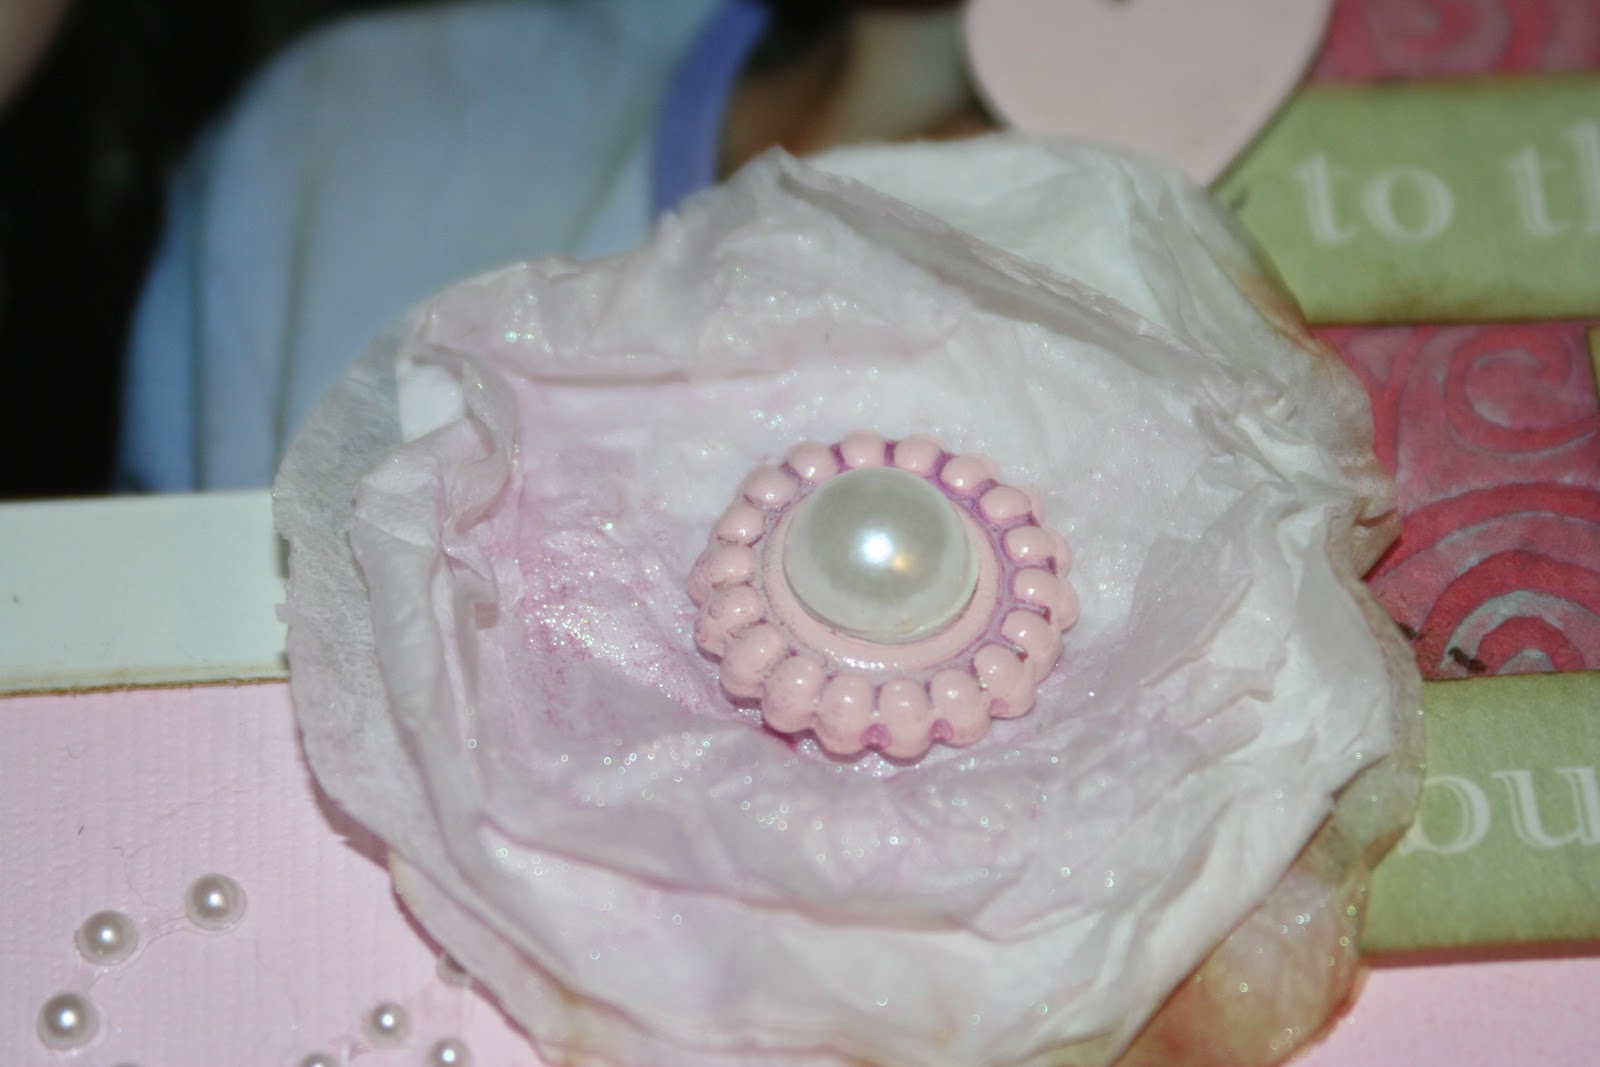
Begin with some plain white tissue paper.  You will layer 5 or six pieces together and cut a small ( about 1.5 inches) circle out of the layered paper:
Next, you will crumple up the layers, making sure each one is very crumply!  Add a brad through the middle ( I used Upsy Daisy #BRD311- Blossom):


Spray the tissue flower with your choice of spray ink or mist - allow some to settle on the brad.  Heat set with heating tool.  Fluff again when dry, add a pearl to the centre of the brad if desired, and you are done!
These are great for adding interest and texture to any layout or card and are quick and easy to make in any size.  Here I have used them in a layout featuring the lovely Blossom line:
(#BLO011-Awakening; #BLO013-Orchard; #BLO016-Spring is in the Air)

I hope you enjoy making some tissue paper flowers for your layouts and cards!

Happy Day, everyone!

Jacquelin

Monday, January 31, 2011

FUSSY CUTTING WITH HOME SWEET HOME

Most of the times, the first things I look at the papers are the patterns that I can cut. I love it when I can cut a lot of shapes and layer them on top of each other to achieve beautiful clusters that would accentuate my photos.

It's love at first sight when I got hold of Home Sweet Home, I had a blast cutting the flowers and the birds found in Alma paper. I'm sharing with you two layouts today - - both having a lot of fussy cutting!!!

Here's my first layout: The big flower cut-outs are perfect for scrapping my 5x7 photo (it's my current fave size to scrap!!!!):

Supplies: Home Sweet Home papers (Alma, Maddison St., Midland Ave, Rockland Rd), Walk in the Park Fabric Brads.

The Walk in the Park fabric brads work perfectly as flower centers:


Random cut-outs adhered with pop dots for added dimension (itty bitty houses from Midland Ave. over Maddison St.'s!!):

Cute birdie sighting in Alma paper (pop dots really do the trick, don't you think?):


Here's my second layout: I love this saying from A. Danielson found in Maddison St. paper, but I couldn't think of a title that would go well with it (so forgive me for the very original "Remember" title!!!! LOL!!!!!!!!!!!!). I cut the quote strip in three sections and incorporated it in the design of my layout:

Supplies: Home Sweet Home papers (Alma, Beach, Cedar Cres, Maddison St., Midland Ave, Rockland Rd), Walk in the Park Fabric Brads.

More cut-outs in this layout!!!


I hope I inspired you to take out your stash of Home Sweet Home papers and cut, cut, cut!!!! Have fun creating!!!

Until next time,

janis

Monday, January 24, 2011

January's Product Showcase

hHi all. As most of you know by now, we are changing things up a bit here at the Daisy Diaries blog for the year 2011. The fourth Monday post will be allotted for technique or product showcase.

I'm very honored to be the first one in this year to share my showcase and I chose product.

Over the last two CHA's, Upsy Daisy Designs have features specific papers in their new lines with journaling blocks and quote strips. This is one of my favorites in each line and I decided to share with you what I did with the Avalanche's Summit paper.


There is only one you

In my page, I decided to put my focus on one photo. I think the picture of my dad and daughter is so precious that it deserved a full page just for it. Anyways, I used the wipeout paper as my background because I love the neutral color but the distressed design gave it some pop.
I then layered some of my favorite strips from the line. I loved the "there is only one you" quote that I decided to make that my title.


with the smaller blocks like this clock above, I added it as an embellishment, filling the middle with a flower and a UDD brad.


I used my daughter's shirt color as a visual triangle element and matched it with my two flowers on the page. I added another UDD brad in my layered flower above.

As you can see, there are so many possibilities with the Summit paper. You can use most of it in one page, like what I did here or just spread them around to a few pages or even a mini. For an example of this, check my blog. I posted a mini using the same paper lines.

Thanks for stopping by.

Till next time,
Grace

Monday, November 22, 2010

Be There or Be Square!

Hi! My name is Jacquelin Green and I am one of the newest Daisies! I am so excited to join the team and happy to share a layout with you in my first blog post!

Living on the West Coast of Canada, we don't get a lot of snow, so when it does come we need to appreciate it and make the best of it! I captured my daughter making a snowfriend out of the tiniest amount of snow that fell this past weekend and the photos were a perfect match for the Upsy Daisy's Avalanche line!

UDD Product used: AVA012 Extreme; AVA013 Grind; AVA014 Powder; BRD315 Brads

Avalanche is a very versatile line - great for pages about boys, men, sports - but I love it for the SNOW! The rich colours are great for cards and holiday layouts, too!

I loved working with the square brads in this collection. There are so many uses for brads, especially these square ones! Their slightly larger size makes a great border or design - I used mine layered with a felt border and a lattice punched piece to draw attention to the photo and add interest:Brads can also be used for titles ( just add rub on letters!), to hang another embellishment on using a piece of any fibre, to form a photo mat or frame, to outline journaling or as a bullet for your journaling, to create a checkerboard pattern or a harlequin pattern ( think clown collar!) - the list is really endless!

I hope you all will find some inspiration today from my little project - and that you are ready to add your own unique style and ideas to the Avalanche collection!

Happy Day everyone!!